Autumn or Fall or whatever….

I am not a fan of this season. If the sun shines, it’s not so bad. But the dreary days of cool weather and lot’s of rain, nada!!!! The rain is welcome but makes it depressing. I love the early part of fall with the glorious leaf changes. Not too cold or too hot. Once the leaves fall, I dread the coming days. The leaf raking and bagging are not a favorite of mine. I don’t like cold weather. The only reason I can stand fall or winter is that I get to bring out my boots. I’m an avid boot wearer. Love, love, love boots!!!!! I must have 30 pairs. So fall is welcome if only for that reason.

That said, I decided to do some fall projects to lift my spirits. I started with door decor. Looking on pinterest always gives me inspiration. If I can, I like to use what I have on hand to make my projects. I have totes in my basement marked with the season or holiday. I pulled up my Halloween and Thanksgiving totes to go through.

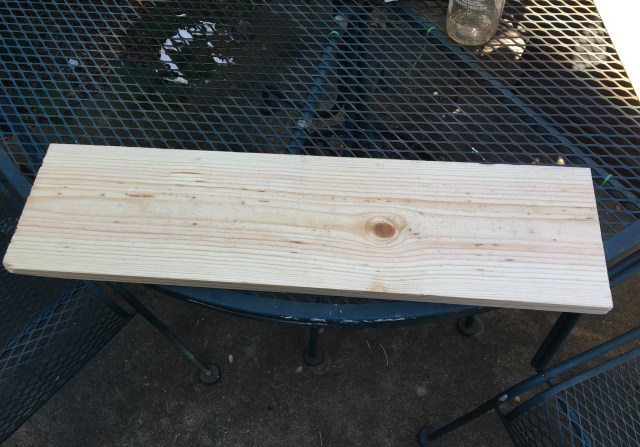
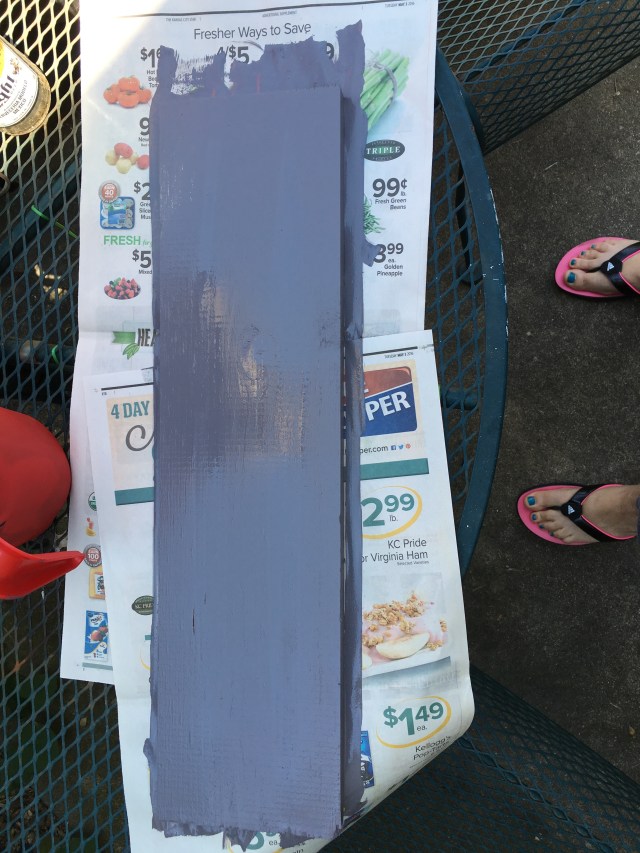
I pulled out leaf garlands and grabbed a couple of pieces of boards. Looked through my collection of left over paints and picked a tan color for the boards. After I painted both pieces, I planned what to put on them. I had a long piece about 12″ wide and 48″ tall another piece at 7″ tall x  24″ wide.

The larger piece was going to be for my daughter’s door. She has a large glass storm door perfect for showcasing this. After the tan paint dried, I painted most of it with a black chalkboard paint. Then I hot glued leaves I had taken from the garland along all 4 sides. Wrote “Hello Fall” down the board and drew a small jack-o-lantern at the bottom with chalk. Once I felt the glue was dry I drilled 2 holes at the top, cut a length of sisal rope and pulled it through the holes and knotted the ends.

My daughter loved it!!

Next I started on my door decor. I had bought a really old small garden rake at a flea market and knew it would work great in my project. I took the smaller piece of wood and used black chalk board paint on a section of it. Drew a leaf from a pattern on each end of the board. Once the paint was dry, I thought it needed more leaves. I hot glued a few at top and bottom. Drilled two holes at the top and cut a length of sisal rope to size and inserted into the holes and knotted the ends. Drew “hello fall” in chalk and I was ready to hang. I placed a garland of leaves on the rake forks and down the handle. Hung the rake on the door and then placed the sign below it.

fullsizerender-4

img_6807

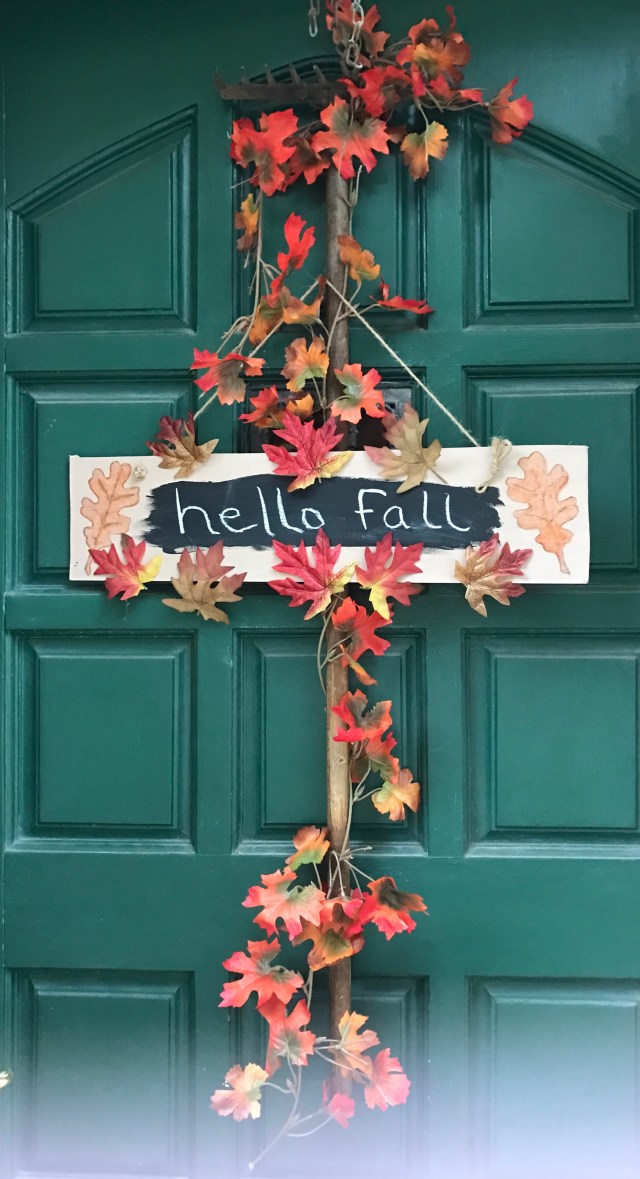
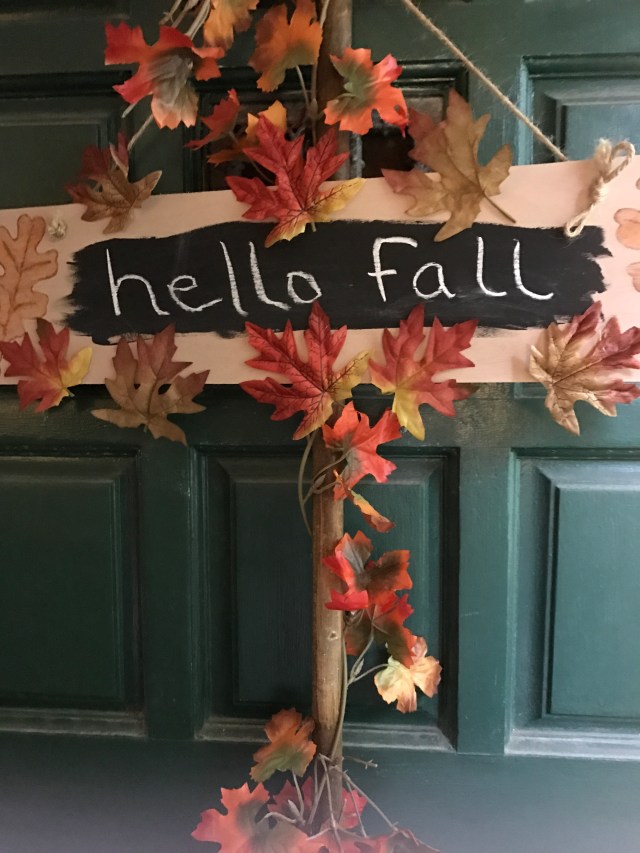
I thought it turned out great. Very colorful.

Pantry sign

After finishing the pantry, I wanted a sign so visitors would know it was no longer a coat closet.

I went looking for supplies online. I tried Amazon first. Amazon is always my go to place for most anything. They have a handmade section that is very enticing. I found some rusty letters that I liked. I have Amazon Prime and can usually find what I want with free 2 day shipping. I bookmarked them and then went to Etsy. I found exactly what I wanted there at a cheaper price. Occasionally vendors on Etsy are willing to work with you on shipping. That is especially true if they state that they will combine items for cheaper shipping. I notified the vendor what I wanted and she was willing to work with me. Purchased my letters and 2 other rusty items for a reasonable price and shipping.

Next I needed to prepare my board. I used a 1 x 6 pine board left over from the pantry. I stained it minwax slate like the pantry walls then whitewashed it. When I whitewash an item, I paint it on with a brush then wipe it off with a cloth. This allows the grain to show through. You can extend the amount of paint you have by adding a small amount of bottled water to your paint cup. I always pour a small amount of paint into a cup or whatever you want to use as a paint holder. Then I add the water. Don’t use tap water. It will make your paint curdle. Or ruin is a good word.

img_6168

I even used a piece I had deemed unusable when we were making the pantry. It had holes in it and very rough edges.

img_6170

Applied my stain.

img_6128

Whitewashed it.

img_6171

Laid out my letters and then decided to whitewash them also.

img_6172

img_6174

Hot glued my letters to the board. I added a tractor and butterfly to the sign for interest. My daughter asked me why the butterfly. The tractor could represent harvest and therefore food in the pantry. She couldn’t understand the butterfly. I replied that I just liked it. I outlined the letters with the slate stain to make them stand out.

img_6175

I think it looks great! It is temporarily hung from a nail. My husband, Daniel, wants to install sliding barn type doors in the future. That would look amazing!!!

Coat closet turned into a pantry

I love looking at other people’s blogs. It’s great for inspiration. I was browsing a blog that had turned a coat closet into a pantry and was instantly intrigued. I showed the blog to my husband, Daniel, and he was just as intrigued as I was. We are remodeling our kitchen/eat in dining room and would like to tear down our upper cabinets and make it open shelving. Problem was, we needed the storage space. Our original floor plan had a peninsula coming from the side wall dividing the kitchen from the eat in dining. We tore that out for a more open concept idea. That removed 4 upper and 4 lower cabinets. Already being in the negative for storage, we had bought 3 tall cabinets for storage temporarily until we decided what to do. The closet/pantry idea definitely had merit.

We removed the coats and other miscellaneous stuff that had piled up in the coat closet. Daniel started researching the best solution for shelves and we decided on a system that allowed as much light to pass through the shelves as possible. He decided we needed to have something other than sheetrock to attach the shelves to. He measured the closet and calculated how many boards and screws we would need. I wanted to give the closet some personality and showed him on pinterest an idea I had for that. He was on board with the idea but wanted to see a sample before we reached that point.

Off to the big box store to pickup supplies. Arriving home, he started cutting the boards to size and installing them in the closet. The studs in the closet were very weirdly set. That is one of the reasons Daniel wanted the boards to attach the shelves to instead of using the studs.

img_6119

The empty closet. The wires/cables are from telephone or internet lines that were no longer used. We haven’t had a land line for several years and wireless internet for longer than that. Daniel pushed those back through to the basement.

img_6118

The first board.

img_6120

We didn’t take down the boards that the hanging pole fit into. For resale, the new owner can just take the shelves out, put the pole back in and the coat closet is back.

img_6126

Almost finished with installing the boards.

Meanwhile, I needed a sample to show Daniel on how I wanted the boards to be finished.

img_6132

I used a Minwax base of white with slate color added. It was a dark gray as you can see in the picture above.

img_6128

Once I applied the stain then whitewashed over it with white chalk paint, we both loved it.
I am an avid user of chalk paint. I love the look and feel of it. I started out using the expensive Annie Sloan chalk paint but found the Rust-Oleum chalked paint to be almost as good and much cheaper. I use it too frequently to spend the money on the other brand.

img_6139

It almost looks like aged barn wood. You can see all the grain and knots from the pine wood. Once the wood was stained and white washed, the other walls looked bare. I decided to do the other two walls with the same treatment sans the wood.

img_6152

Not a bad look for a pantry.

img_6147

The shelving going in.

img_6164

The pantry filled. We emptied 3 tall cabinets into one pantry. The only problem is lighting.
I have placed the push and tap lights throughout the pantry but the lighting is still poor. We will tackle that problem later. Can’t get over how much we can get into the pantry. Not only food but bowls, cups and tupperware.

We couldn’t be any happier with the outcome. As a finishing touch, I made a temporary sign for the pantry.

img_6175

You can find the steps for this project on another entry.