
I love looking at other people’s blogs. It’s great for inspiration. I was browsing a blog that had turned a coat closet into a pantry and was instantly intrigued. I showed the blog to my husband, Daniel, and he was just as intrigued as I was. We are remodeling our kitchen/eat in dining room and would like to tear down our upper cabinets and make it open shelving. Problem was, we needed the storage space. Our original floor plan had a peninsula coming from the side wall dividing the kitchen from the eat in dining. We tore that out for a more open concept idea. That removed 4 upper and 4 lower cabinets. Already being in the negative for storage, we had bought 3 tall cabinets for storage temporarily until we decided what to do. The closet/pantry idea definitely had merit.
We removed the coats and other miscellaneous stuff that had piled up in the coat closet. Daniel started researching the best solution for shelves and we decided on a system that allowed as much light to pass through the shelves as possible. He decided we needed to have something other than sheetrock to attach the shelves to. He measured the closet and calculated how many boards and screws we would need. I wanted to give the closet some personality and showed him on pinterest an idea I had for that. He was on board with the idea but wanted to see a sample before we reached that point.
Off to the big box store to pickup supplies. Arriving home, he started cutting the boards to size and installing them in the closet. The studs in the closet were very weirdly set. That is one of the reasons Daniel wanted the boards to attach the shelves to instead of using the studs.
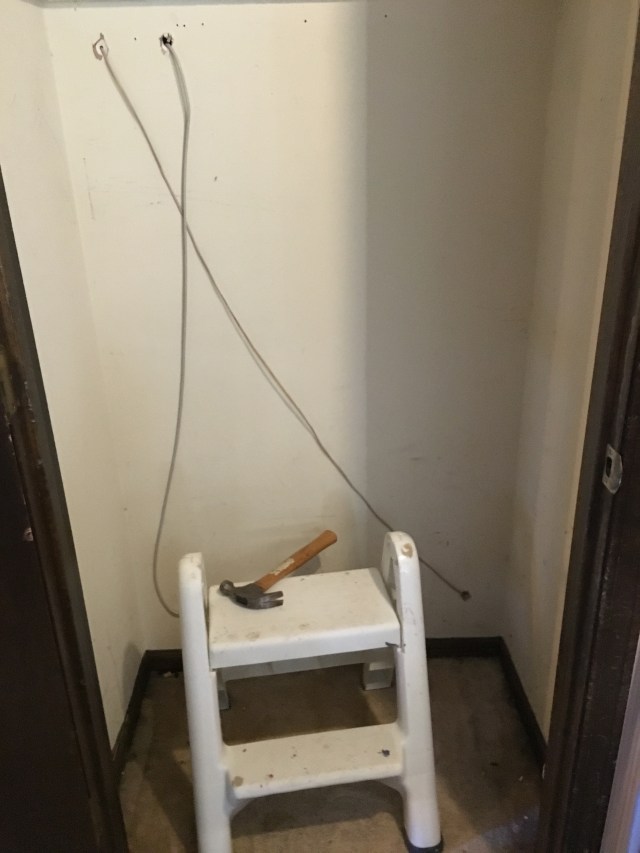
The empty closet. The wires/cables are from telephone or internet lines that were no longer used. We haven’t had a land line for several years and wireless internet for longer than that. Daniel pushed those back through to the basement.
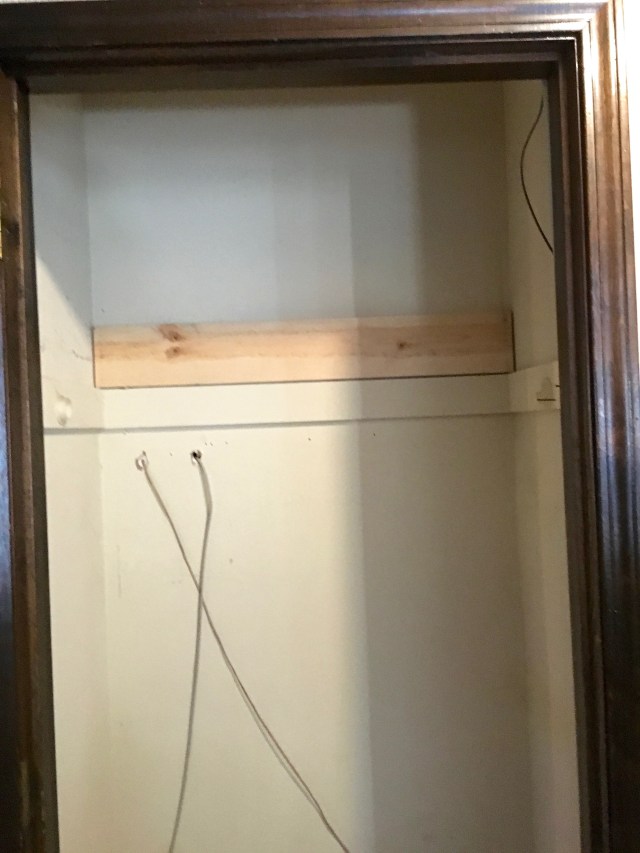
The first board.
We didn’t take down the boards that the hanging pole fit into. For resale, the new owner can just take the shelves out, put the pole back in and the coat closet is back.
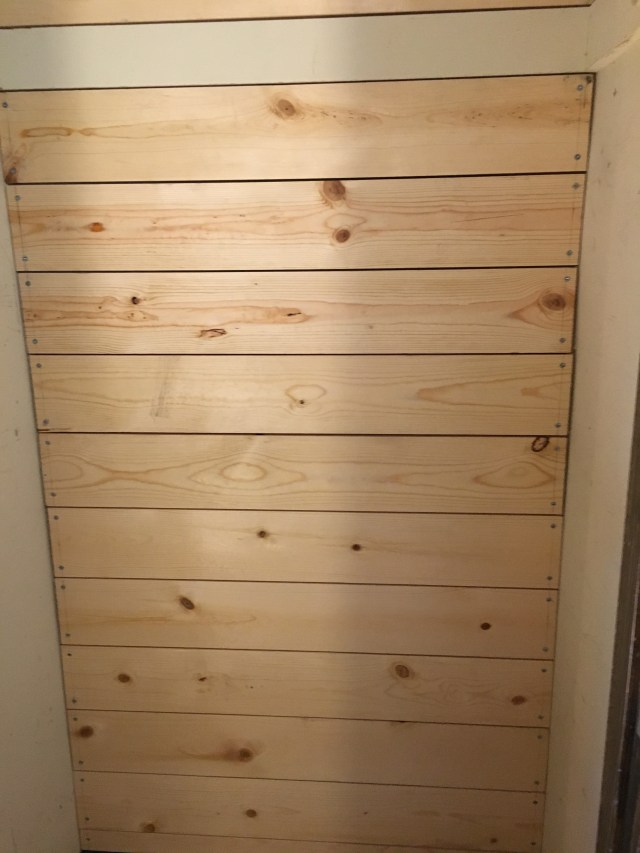
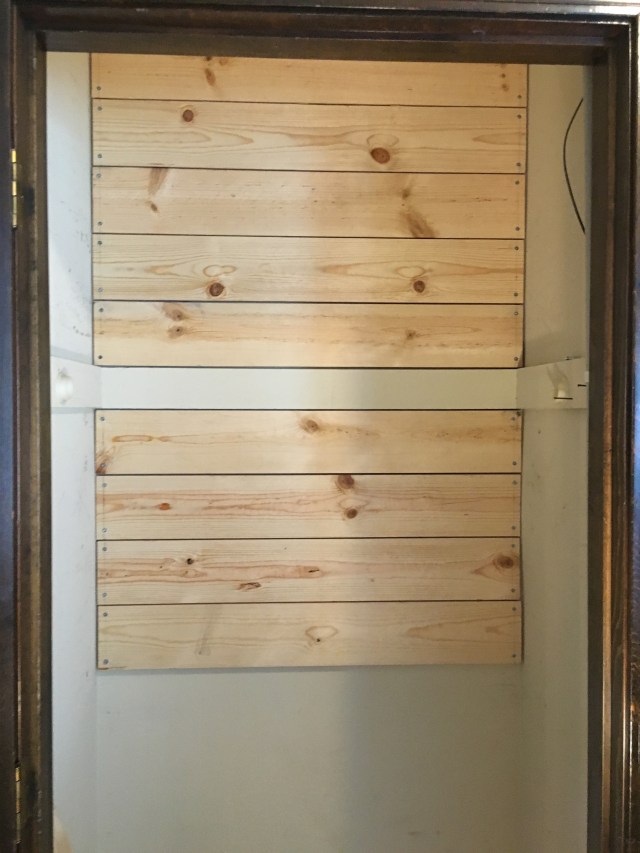
Almost finished with installing the boards.
Meanwhile, I needed a sample to show Daniel on how I wanted the boards to be finished.
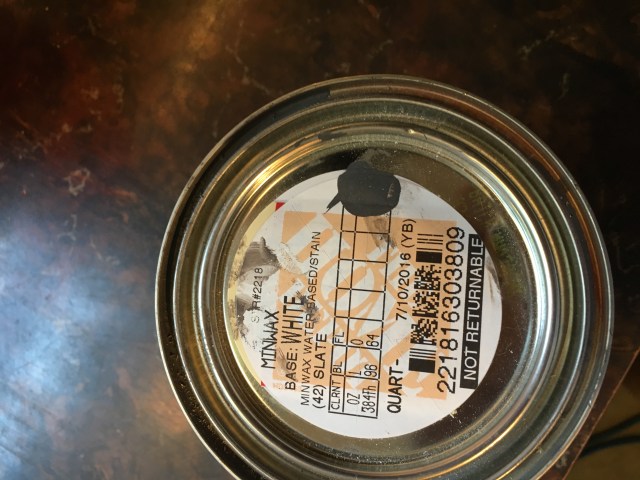
I used a Minwax base of white with slate color added. It was a dark gray as you can see in the picture above.
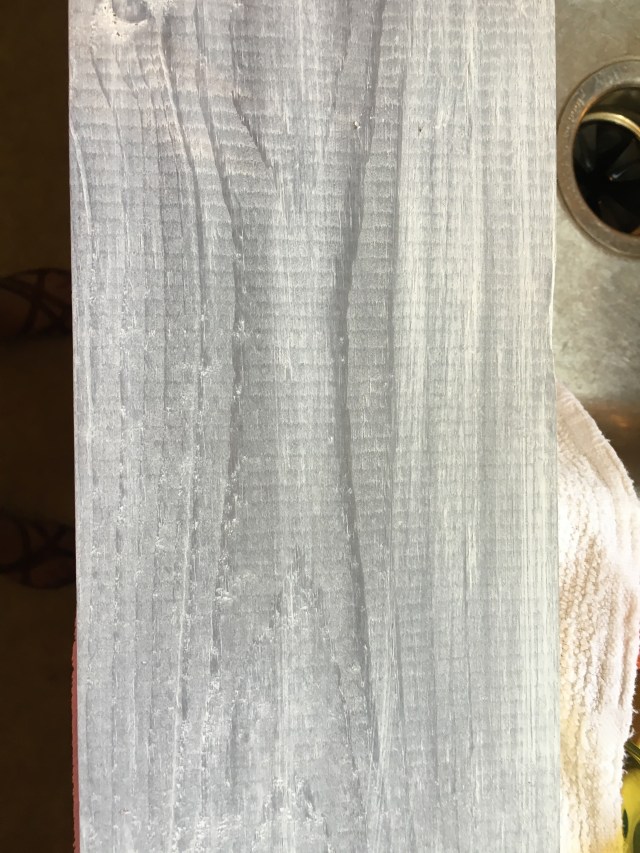
Once I applied the stain then whitewashed over it with white chalk paint, we both loved it.
I am an avid user of chalk paint. I love the look and feel of it. I started out using the expensive Annie Sloan chalk paint but found the Rust-Oleum chalked paint to be almost as good and much cheaper. I use it too frequently to spend the money on the other brand.
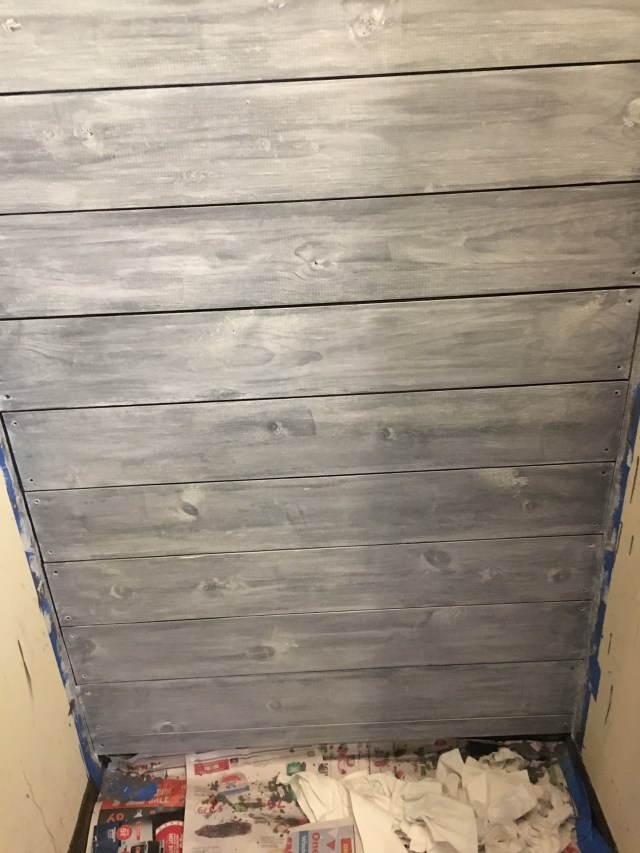
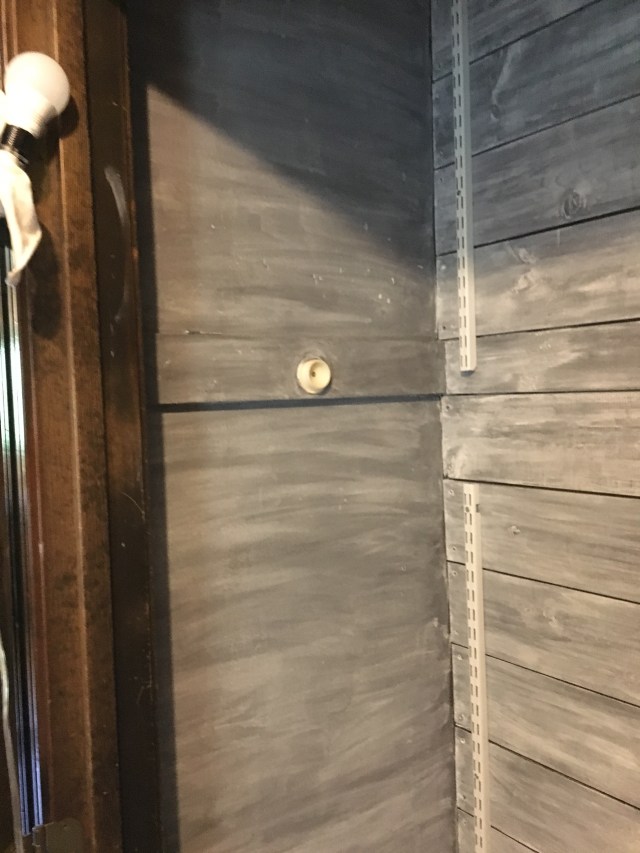
It almost looks like aged barn wood. You can see all the grain and knots from the pine wood. Once the wood was stained and white washed, the other walls looked bare. I decided to do the other two walls with the same treatment sans the wood.
Not a bad look for a pantry.
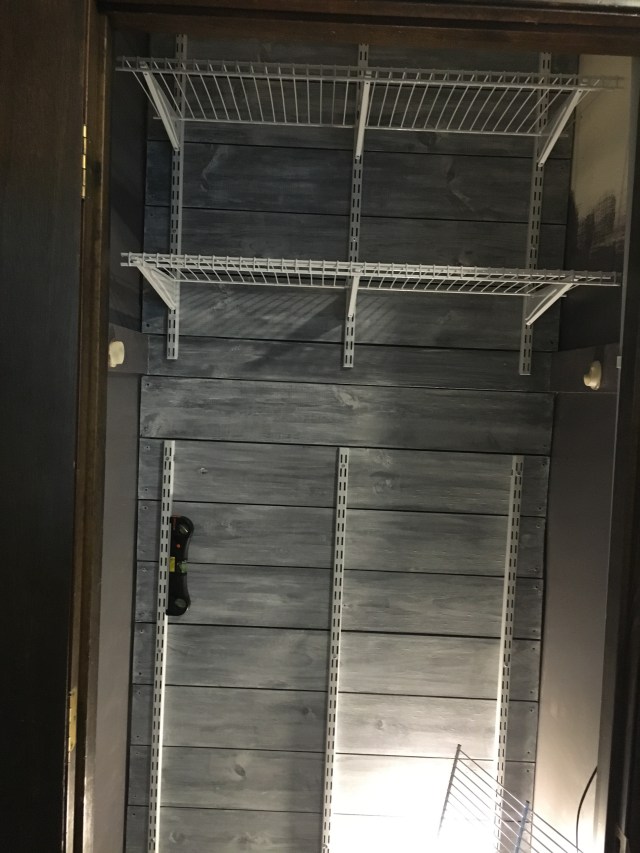
The shelving going in.
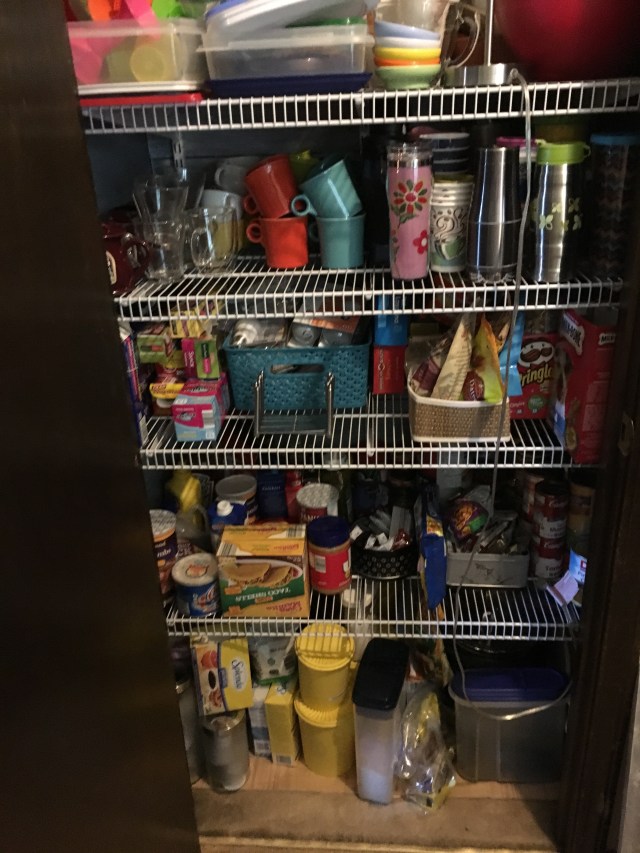
The pantry filled. We emptied 3 tall cabinets into one pantry. The only problem is lighting.
I have placed the push and tap lights throughout the pantry but the lighting is still poor. We will tackle that problem later. Can’t get over how much we can get into the pantry. Not only food but bowls, cups and tupperware.
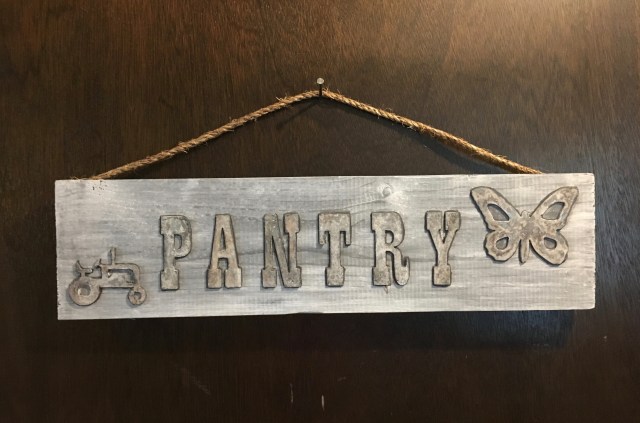
We couldn’t be any happier with the outcome. As a finishing touch, I made a temporary sign for the pantry.
You can find the steps for this project on another entry.
